From feedback from vintage mentors and the forums, the "screaming revs" may not have been from an air leak. The engine was holding good pressure, it may gave been from the copper coat sealant blocking the pulse holes. My understanding now is much better... won't get into the details here. That is good news!
One of the most experienced Mcculloch carb experts, Steve O'Hara, responded to my 'screaming' entry with good, solid, common sense advice. Thanks Steve!
I spent the week working on the carb, mostly cleaning off the sealant and paper gasket. I found the two pulse holes and paid close attention to cleaning them. The gasket came off with a putty knife.
Dad and I had filed the stuffer flat for the gasket there, a technique I did not know about. It ensures the surface is flat and clean. It is even more important for the carb since it does not take sealant.
I taped a piece of 220 grit sand paper to an old mirror with thick glass. This gave me a flat surface to sand the faces of the carb flat. Dad had shown me it is good to use a marker on the surface first, so that when that color is gone, the surface is ready. Good advice since I found that suggestion several times on the kart forums.
 |
| all flat and shiny!! I did go back and do more on the carb body (right) |
 |
| Ready for the gaskets and engine |
The first carb build, I just put the dry paper gaskets on the carb. BUT... now I know to soak them in oil or WD40 to help prevent air leaks. I used a zipper bag to let them juice-up over a few days.

All was going smooth until I was tightening the allen bolts on carb. As I tightened the one on the top left, it stripped. I almost hurled my lunch!


The middle bolt is the old one which stripped the thread. On the right is the new, long bolt. But I needed a star washer. HMMMM... so I looked in Dad's kart parts cabinet and BINGO! a 40+ year old box of star washers.

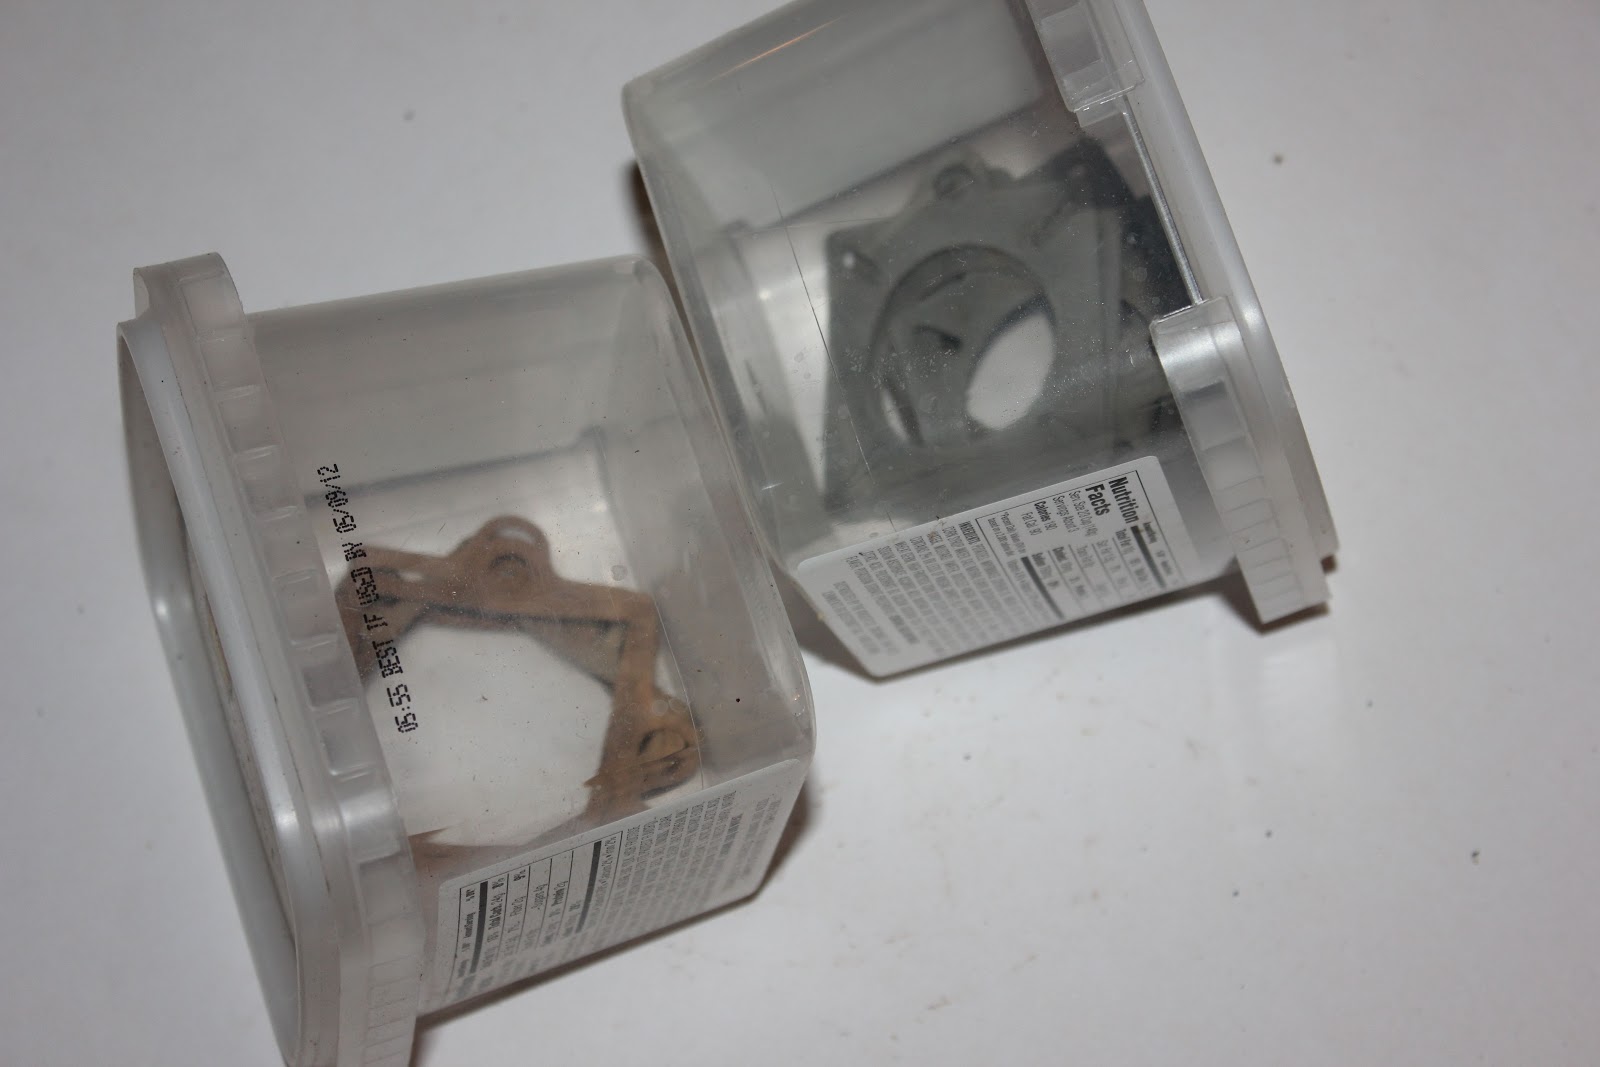
Dad had also gathered unused gaskets for carb and stuffer into separate containers. These new gaskets are from that collection. Without them I would be up the creek. I told Pam, "Bless Dad's heart!" I can't know his thoughts, but is almost like he know I would need them and was thinking ahead. I am finding that out a lot.

Here is the first gasket to go on. The four holes are very similar, but not exactly the same... smaller ones go on the studs.


Then the pressure test. So I had to take the carb off and attach the plates for the pressure test.
 |
| Zero to start |
 |
| Add pressure and wait. It started at 14lbs. |
 |
| After 10 minutes it was down to 12lbs. Not bad!! |
 |
| I decided to mark the long bolt. |
I took all the ignition parts off and tested with the volt meter and got some strange readings. I am not an elect guy, so did some research on testing them, especially the coil (large yellow thing the spark plug wire comes out of). But I found out the readings were correct. I couldn't get a reading on the condenser with my volt meter, so I went to forums and Youtube for help.

 |
| 9-volt battery with speaker wire to each lead held on with electrical tape |
 |
| speaker wire on the stationary points. Notice the card board between points |
 |
| speaker held in the spark boot with an allen wrench. notice the paper booklet separating the block from wrench. |
I was getting frustrated and tired since it was 10:30pm and I had been working on it for about 8 hours (Did take a date night pizza break with Pam at the Upper Crust Pizzaria. YUM!)
Then I looked down and saw it. The wire from the points/condenser was not attached to the coil. Plugged it in.. and ... IT SPARKED! That meant the coil and condenser were OK.

Time to set the points to the proper gap, put the plug in the boot, HOLD IT TO THE BLOCK, and spin the crank. SPARK, BEAUTIFUL SPARK!
With that behind me, I can move on to the timing, then put it back on the kart, and try starting again!!
With that behind me, I can move on to the timing, then put it back on the kart, and try starting again!!
The Grattan test is 3 weeks from today. Need tires, helmet, and possibly a new brake master cylinder o-ring. :-(
No comments:
Post a Comment